Quick Start (OC)
This tutorial helps developers quickly understand and master the basic integration process and core capabilities of the IMKit SDK (RC Chat UI library). You'll complete end-to-end operations including SDK import, initialization, connection setup, displaying conversation lists and chat UIs, and testing message sending/receiving.
Environment Requirements
- Xcode 11 or later
- iOS 9.0 or later
- CocoaPods 1.10.0 or later (if using CocoaPods integration). Since IMLib SDK 5.1.1 switched to XCFramework format, CocoaPods 1.10.0+ is required for full XCFramework support. See Knowledge Base.
To install CocoaPods, refer to CocoaPods Installation.
Prerequisites
- Register a developer account at RC Console. Upon successful registration, the console automatically creates an app in your development environment.
- Obtain your development environment AppKey from the Basic Info page. This page displays app information including App Key, App Secret, and data center location.
To create apps manually, see How to create apps and obtain corresponding environment App Keys/Secrets.
Each app has two distinct App Keys for development and production environments respectively, with isolated data between environments. Before official launch, switch to your production environment App Key for full pre-release testing. :::
Import SDK
RC supports two integration methods: adding remote dependencies via CocoaPods or manually importing IMKit XCFramework libraries. Starting from v5.16.1, IMKit SDK also supports Swift Package Manager. Below demonstrates CocoaPods remote dependency.
CocoaPods Integration
-
If your project lacks a
Podfile, runpod initin your project root directory to generate one. Then add:
pod 'RongCloudIM/IMKit', '~> x.y.z'
Replace x.y.z with the actual version number. Check the latest version on [RC's SDK download page] or via terminal commands: first run pod repo update, then pod search RongCloudIM.
-
In terminal, navigate to your
Podfiledirectory and run:
pod install
If encountering errors like CocoaPods could not find compatible versions, first run pod repo update before pod install.
- Open the generated
.xcworkspacefile in Xcode.
Initialize SDK
Import the SDK header for all IMKit API calls:
#import <RongIMKit/RongIMKit.h>
To ensure proper connection to RC servers and IM service functionality, you must initialize IMKit SDK using the init method with your App Key from the console and proper RCInitOption configuration.
RCInitOption encapsulates areaCode (data center region), naviServer (navigation service address), fileServer (file service address), statisticServer (analytics service address), and crashMonitorEnable (crash monitoring toggle). See Initialization.
For Beijing Data Center users, RCInitOption configuration is optional as IMKit SDK defaults to Beijing.
NSString *appKey = @"Your_AppKey"; // example: bos9p5rlcm2ba
RCInitOption *initOption = nil;

[[RCIM sharedRCIM] initWithAppKey:appKey option:initOption];
For global data center users, specify the corresponding AreaCode:
NSString *appKey = @"Your_AppKey"; // example: bos9p5rlcm2ba
RCInitOption *initOption = [[RCInitOption alloc] init];
initOption.areaCode = RCAreaCodeSG;// Singapore Data Center

[[RCIM sharedRCIM] initWithAppKey:appKey option:initOption];
For IMKit SDK development versions below 5.4.2 or stable versions ≤5.3.8, use RCIM's initWithAppKey method with just the App Key parameter. See Initialization.
Connect to RC IM Server
The user Token is an authentication credential corresponding to user IDs, serving as the unique identifier for app users in RC. Before using IM features, clients must establish an IM connection by providing a valid Token.
In production, clients should obtain Tokens via your application server calling IM Server API. See Server API docs User Registration.
For quick testing, we'll use the console's Polaris developer tools to call the Get Token API and obtain a Token for user 1.
- To simulate messaging, first register a user. In production, obtain tokens via your app server calling RC IM Server API. For testing, use Polaris API debugger to call Get Token for user 1:
HTTP/1.1 200 OK
Content-Type: application/json; charset=utf-8

{"code":200,"userId":"1","token":"gxld6GHx3t1eDxof1qtxxYrQcjkbhl1V@sgyu.cn.example.com;sgyu.cn.example.com"}
-
Set connection listeners for real-time status updates. Display connection status (e.g., "Connection lost" or "Reconnected") to improve UX. Recommended to set listeners after SDK initialization but before connection, removing when unnecessary. See Connection Status Monitoring.
/// Add delegate
[[RCIM sharedRCIM] addConnectionStatusDelegate:self]; -
Call connectWithToken to connect user 1 to RC IM service. IMKit SDK has automatic reconnection, so calling connect once per app lifecycle suffices. See Connection.
[[RCIM sharedRCIM] connectWithToken:@"Token from backend"
    dbOpened:^(RCDBErrorCode code) {
         //Message DB opened, proceed to main UI
    }success:^(NSString *userId) {
         //Connection successful, navigate to conversation list
    }error:^(RCConnectErrorCode status) {
        if (status ==RC_CONN_TOKEN_INCORRECT) {
            //Fetch new token from app server and reconnect
        } else {
            //Connection failed, handle error accordingly
    }
}];
Display Conversation List
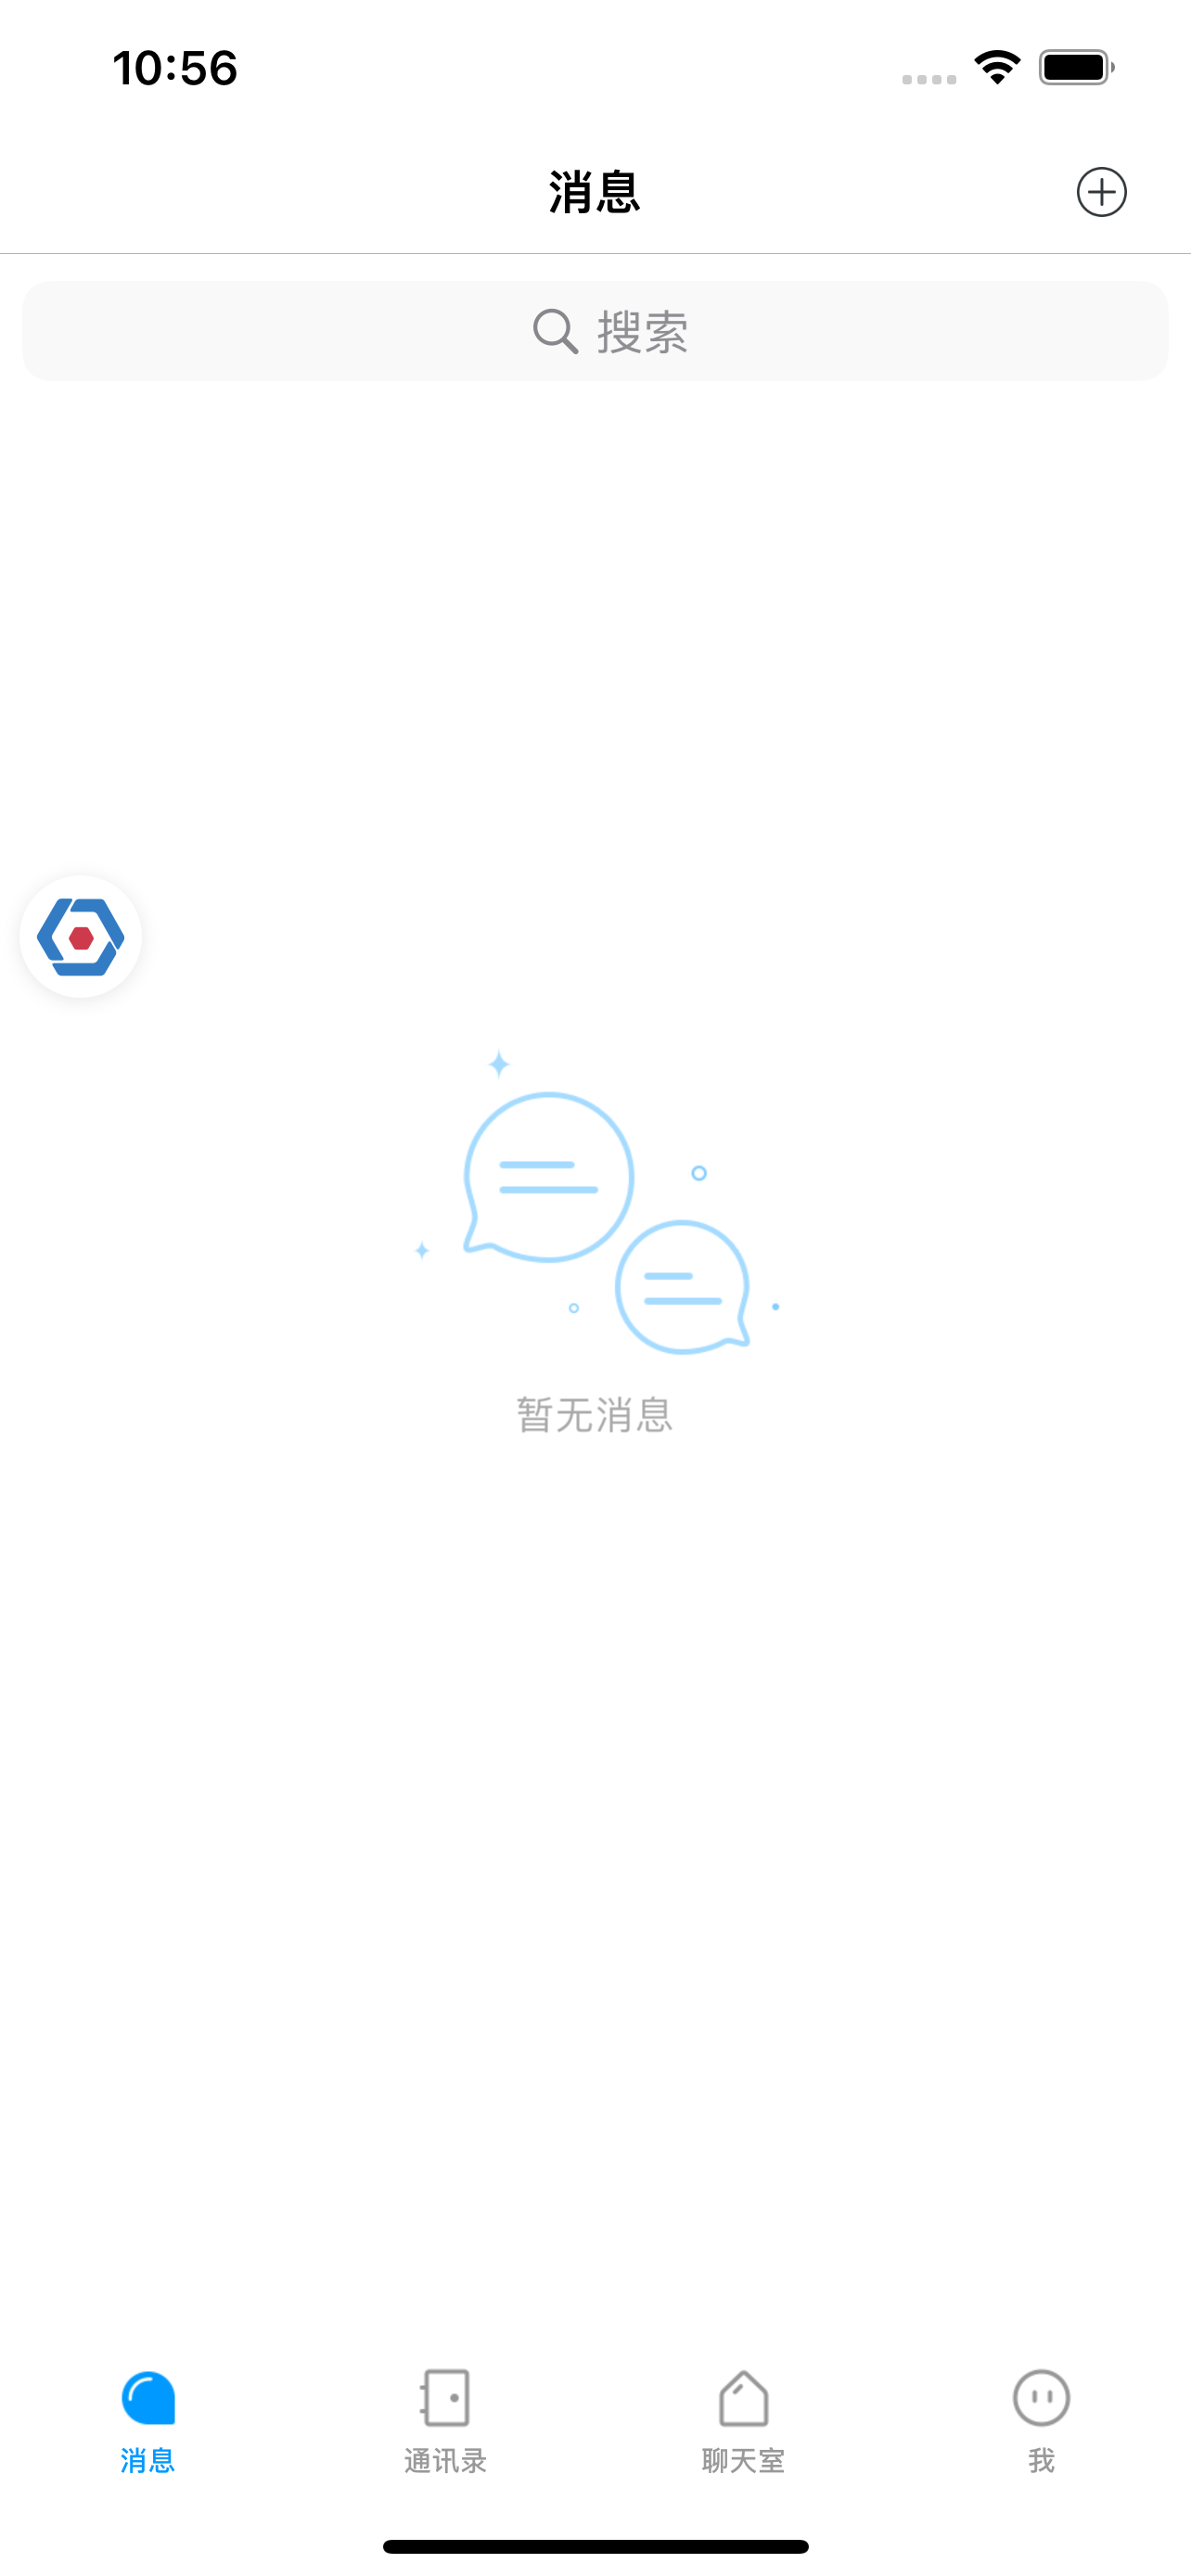
IMKit SDK provides a default conversation list UI (RCConversationListViewController) showing all active chats.
After successful connection, navigate to the built-in conversation list. You can directly initialize RCConversationListViewController or subclass it. First-time users will see an empty list that automatically updates upon receiving messages.
We recommend subclassing, e.g., RCDChatListViewController:
@interface RCDChatListViewController : RCConversationListViewController

@end
Initialize your custom list to display only one-to-one chats (ConversationType_PRIVATE). Create your own page navigator.
NSArray *displayConversationTypeArray = @[@(ConversationType_PRIVATE)];

RCDChatListViewController *conversationListVC = [[RCDChatListViewController alloc] initWithDisplayConversationTypes:displayConversationTypeArray
                                                                                         collectionConversationType:nil];

[self.navigationController pushViewController:conversationListVC animated:YES];
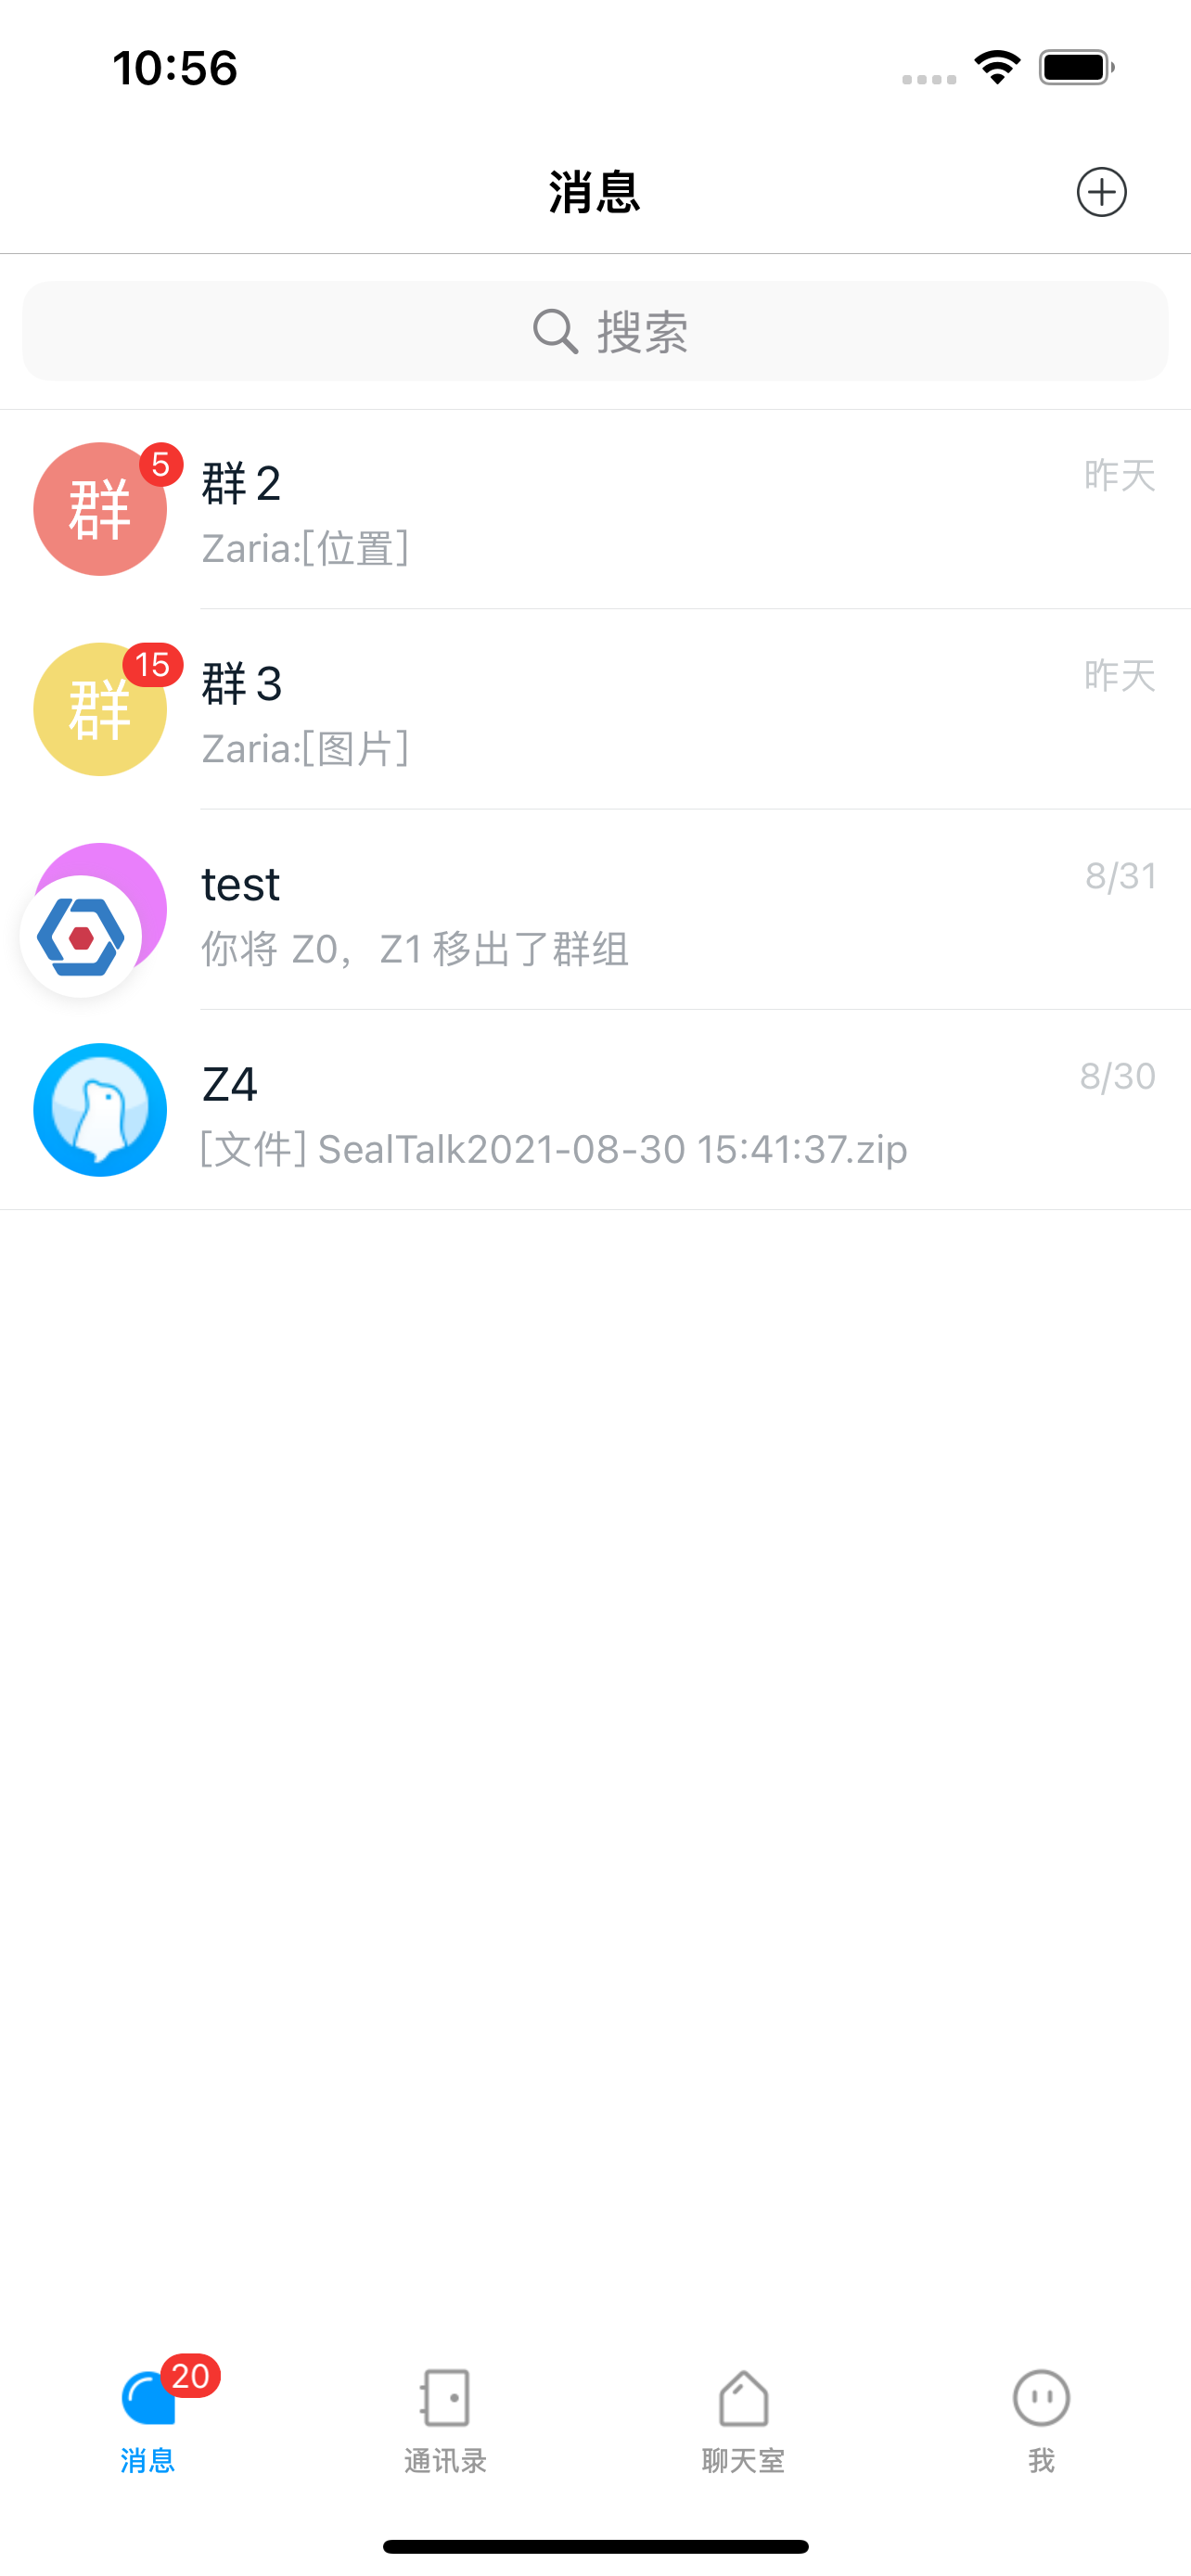
The screenshots below show RC's SealChat app. IMKit's default list only includes conversations without search or tab bars. To display nicknames/avatars, implement a User Info Provider or use Profile Hosting Service.
For details, see Conversation List UI.
Display Chat UI
IMKit SDK provides a default chat UI (RCConversationViewController) for message editing, viewing, and sending.
Override the conversation cell tap method in your list to navigate to the built-in chat UI.
- (void)onSelectedTableRow:(RCConversationModelType)conversationModelType
         conversationModel:(RCConversationModel *)model
               atIndexPath:(NSIndexPath *)indexPath {

    RCConversationViewController *conversationVC = [[RCConversationViewController alloc] initWithConversationType:model.conversationType
                                                                                                         targetId:model.targetId];
    conversationVC.title = @"Desired chat title";
    [self.navigationController pushViewController:conversationVC animated:YES];

}
For details, see Chat UI.
Test Messaging
RC enables chatting with any user given their userId. For example, user A can message user B by providing B's userId.
For testing, we'll use Polaris API debugger to send a text message to the connected user, simulating a one-to-one chat. In production, clients can receive messages via userIds, group targetIds, or chatroom targetIds.
-
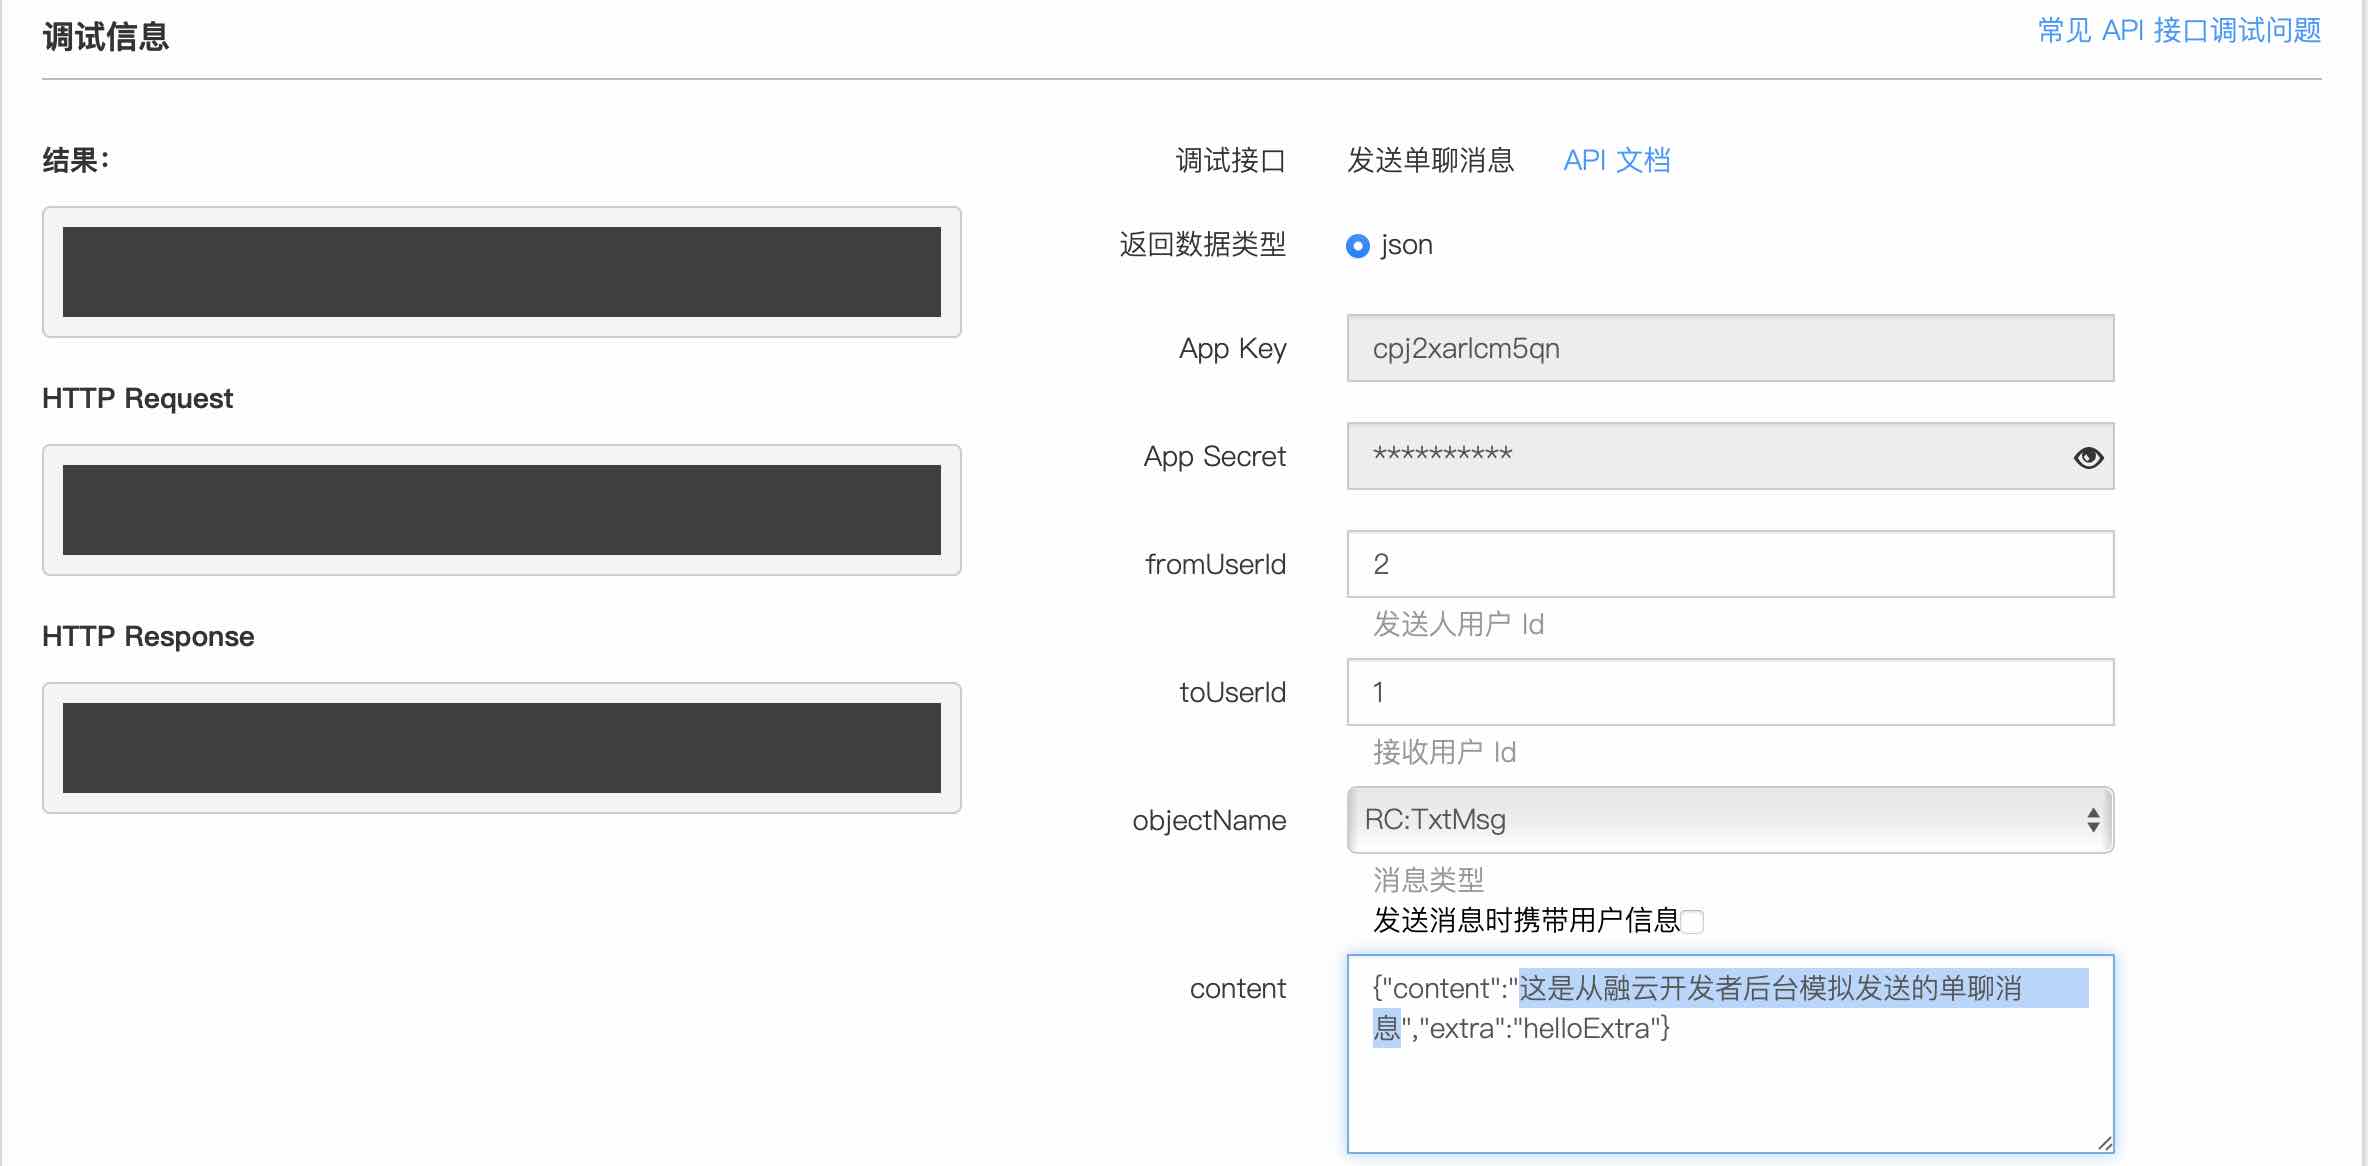
Access Polaris API debugger in the console.
-
Under Message Services, locate Send Private Message.
This simulates user 2 sending a text message to user 1.
-
Upon receiving, the client automatically displays the new chat in the list. Tap to enter the chat and send messages.

Next Steps
You've now experienced basic IM communication and UI integration. Explore these advanced topics:
- User Overview: IMKit user-related services and avatar/nickname/group member displays
- Group Overview: Building group chat experiences with IMKit
- Conversation List UI: Customizing conversation lists
- Chat UI: Customizing chat interfaces