Quick Start
This tutorial helps you quickly understand and master the basic integration process and core communication capabilities of the IMKit SDK (RC Chat UI Library). Through this guide, you'll complete the entire workflow from importing the IMKit SDK, initialization, setting up listeners, establishing connections, to sending messages. You can use the UI interface provided by IMKit.
Environment Requirements
Different IMKit SDK versions have varying requirements for the Android system version, as shown below:
| IMKit SDK Version | Android System Requirement | API Level |
|---|---|---|
| ≥ 5.6.3 | Android 5.0+ | 21+ |
| < 5.6.3 | Android 4.4+ | 19+ |
Prerequisites
-
Register a developer account on the RC Console. After registration, the console automatically creates an application for you in the development environment.
-
On the Basic Information page of the console, obtain your App Key for the development environment. You can view application details such as App Key, App Secret, and data center location on this page.
-
To create an application manually, refer to How to Create an Application and Obtain App Key and App Secret for the Corresponding Environment.
tipEach application has two distinct App Keys for the development and production environments, with data isolation between them. Before your app goes live, switch to the production environment App Key for end-to-end testing and final release.
Steps
IMKit supports integration via Maven, local Module, or source code. Check the latest version on the RC Maven Repository. Installing IMKit will also integrate the IMLib core library. Other plugins can be added as needed.
Import the SDK
RC supports integration by adding remote dependencies in Gradle or importing local Android libraries. Below demonstrates the remote dependency method.
-
Open Android Studio and switch to Project view.
-
In the project's root directory, locate the build.gradle file and declare RC's Maven repository.
allprojects {
    repositories {
        ...
        // RC Maven repository URL
        maven {url "https://maven.rongcloud.cn/repository/maven-releases/"}
    }
} -
In the app directory, find the build.gradle file and add IMKit SDK as a remote dependency. Replace
x.y.z.hwith the IMKit SDK version number. Check the latest version on the RC Maven Repository.dependencies {
...
// Example: IMKit library integration. Add plugins as needed.
api 'cn.rongcloud.sdk:im_kit:x.y.z'
}
For other import methods, refer to Import the SDK.
Initialize IMKit SDK
To ensure proper connection to RC servers and use of RC Chat services, you must initialize the IMKit SDK by calling the init method. Before initialization, obtain the App Key from the RC Console and configure InitOption (initialization settings).
InitOption encapsulates AreaCode (data center region code), naviServer (navigation service URL), fileServer (file service URL), statisticServer (analytics service URL), enablePush (push notification toggle), and isMainProcess (main process toggle). For details, see Initialization.
If using the Beijing data center, no InitOption setup is required—IMKit SDK defaults to Beijing.
String appKey = "Your_AppKey"; // example: bos9p5rlcm2ba
InitOption initOption = new InitOption.Builder().build();

IMCenter.init(getApplicationContext(), appKey, initOption);
For IMKit SDK versions below 5.4.2 (exclusive), call the init method of IMCenter in the Application's onCreate() method with the App Key. See Initialization.
Connect to RC IM Server
- To simulate message exchange via RC IM Server, first register a user. In production, client apps obtain tokens by calling RC IM Server APIs through your application server. Refer to the Server API docs: User Registration.
For this tutorial, use the Get Token API in the Polaris > API Debug section of the console to generate a token for user ID1. The response:
HTTP/1.1 200 OK
Content-Type: application/json; charset=utf-8

{"code":200,"userId":"1","token":"gxld6GHx3t1eDxof1qtxxYrQcjkbhl1V@sgyu.cn.example.com;sgyu.cn.example.com"}
-
Set up a connection listener to monitor real-time connection status. Display status updates (e.g., "Connection lost" or "Reconnected") to improve UX. It's recommended to set this listener for the app's lifecycle and remove it when unnecessary. See Connection Status Monitoring.
private IRongCoreListener.ConnectionStatusListener connectionStatusListener = new IRongCoreListener.ConnectionStatusListener() {
  @Override
  public void onChanged(ConnectionStatus status) {
        // Handle different status codes for business logic
  }
};
public void setIMStatusListener() {
    // Add connection status listener (since 5.1.6)
    RongCoreClient.addConnectionStatusListener(ConnectionStatusListener);
} -
Call
connectto link user ID1to RC IM services. Note: IMKit SDK has auto-reconnect, so callconnectonce per app lifecycle. See Connection.public class LoginActivity extends AppCompatActivity {
@Override
protected void onCreate(Bundle savedInstanceState) {
super.onCreate(savedInstanceState);
setContentView(R.layout.activity_login);
TextView login = findViewById(R.id.login);
login.setOnClickListener(v -> {
String token = "Token_from_backend";
IMCenter.getInstance().connect(token, new RongIMClient.ConnectCallback() {
/**
* Success callback
* @param userId Current user ID
*/
@Override
public void onSuccess(String t) {
}
/**
* Error callback
* @param errorCode Error code
*/
@Override
public void onError(RongIMClient.ConnectionErrorCode e) {
}
/**
* Database callback.
* @param code Database status: DATABASE_OPEN_SUCCESS or DATABASE_OPEN_ERROR
*/
@Override
public void onDatabaseOpened(RongIMClient.DatabaseOpenStatus code) {
}
});
});
}
}
The SDK handles reconnection automatically. See Connection.
Send Messages
For RC, providing a recipient's userId is sufficient to initiate a chat. For example, if User A wants to message User B, only User B's userId is needed.
- RC Server handles message delivery without permission checks by default.
- Friend relationships are managed by your application server.
Below, we'll use IMKit's default UI for basic message exchange.
UI Interface
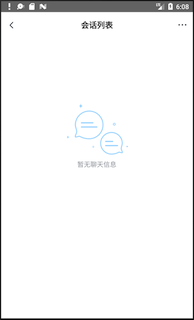
IMKit SDK provides default conversation list and chat UIs. Users can view all active chats in the list and send/receive messages in chat views.
After first login, the app redirects to the conversation list (initially empty). New messages automatically populate the list.
The default conversation list UI:
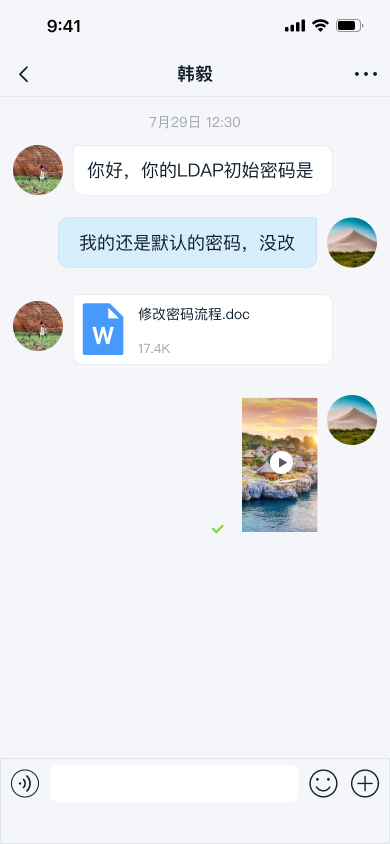
Tap a conversation to enter the chat view and send messages.
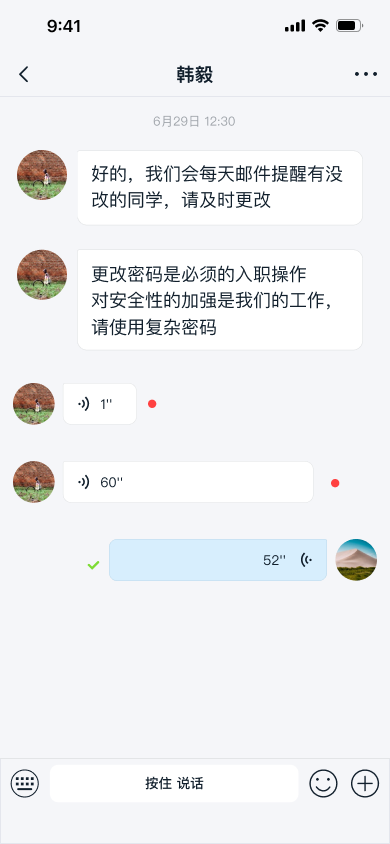
IMKit's default UIs are Activity-based but also support Fragment integration into custom Activities. UI customization is available. See Integrate Conversation List and Integrate Chat UI.
To display nicknames and avatars, provide a user info provider to IMKit. This supplies profile data for display. Details: User Info.
Test Messaging
In production, clients receive messages via user IDs, group IDs, or chatroom IDs.
For this tutorial, send a test message from the Polaris > API Debug > IM Server API console to simulate a one-to-one chat.
-
Navigate to Polaris > API Debug > IM Server API.
-
Under Messaging > Send Private Message, simulate User ID
2sending a text message to User ID1.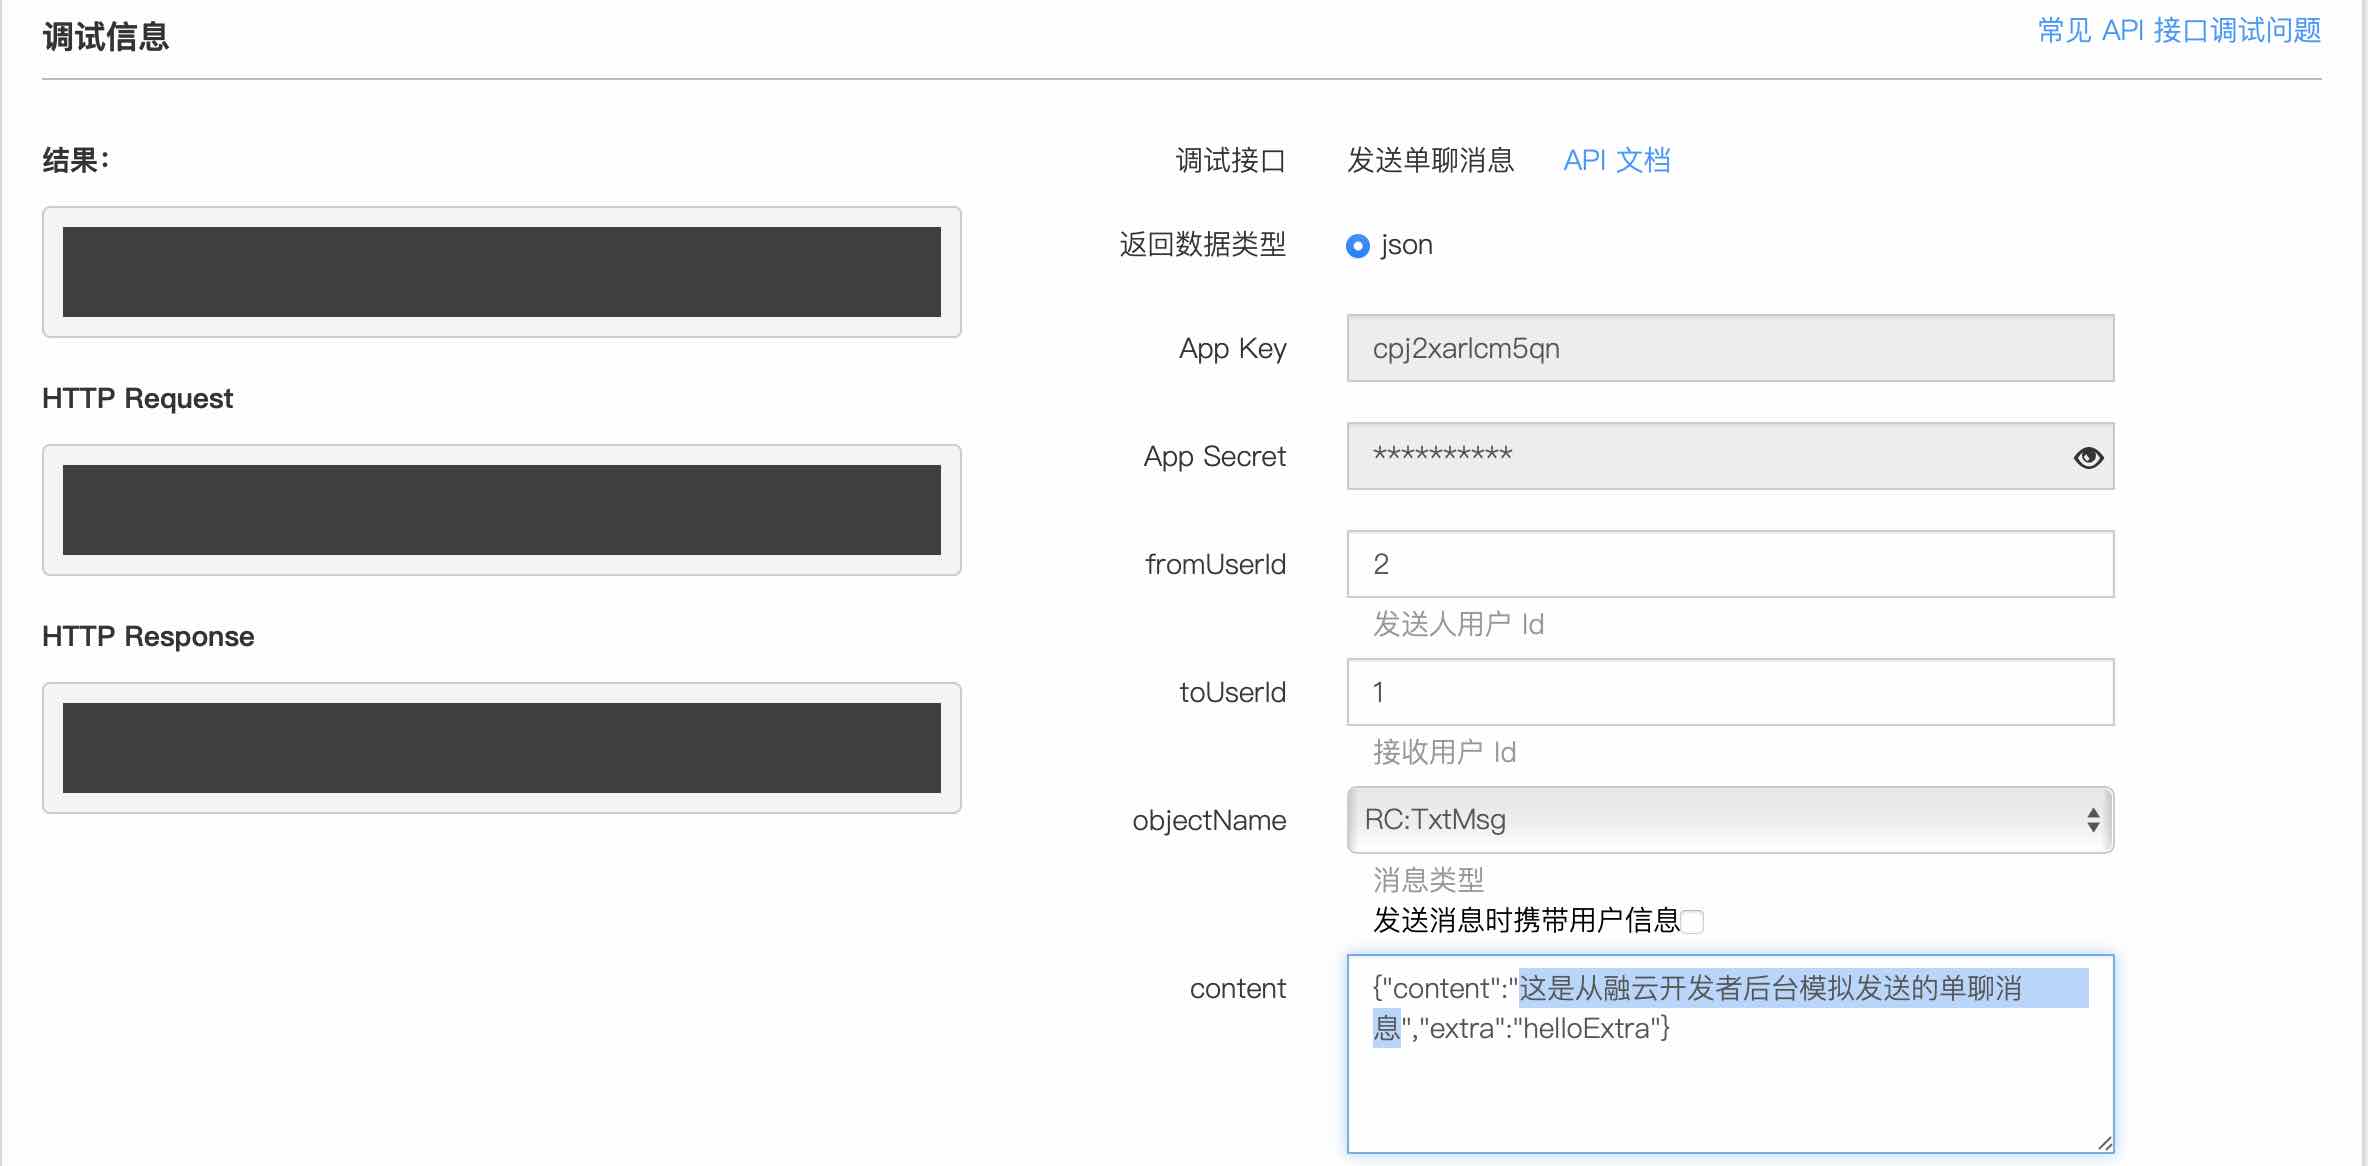
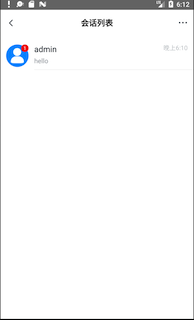
-
The client auto-populates the new chat in the conversation list.
-
Tap the chat to enter the message view and reply.
Next Steps
You've now experienced basic IM integration and core features. For advanced usage, explore the detailed sections below.