Getting Started
This tutorial aims to help you quickly understand and master the basic integration process and core communication capabilities of the IMLib SDK (RC Instant Messaging Library). Through this tutorial, you will complete the entire workflow from IMLib SDK import, initialization, listener setup, connection establishment, to message sending.
Environment Requirements
Different versions of the IMLib SDK have varying requirements for the Android system version, as detailed below:
| IMLib SDK Version | Android System Requirement | API Level |
|---|---|---|
| ≥ 5.6.3 | Android 5.0+ | 21+ |
| < 5.6.3 | Android 4.4+ | 19+ |
Prerequisites
-
Register a developer account on the RC Console. Upon successful registration, the console automatically creates an application for you in the development environment.
-
On the console's Key Management page, obtain your application's App Key for the development environment. You can view application information on the Key Management page, such as App Key, App Secret, and the data center (default is Beijing).
-
You can also create your own application and obtain the corresponding environment's App Key and App Secret.
tipEach application has two different App Keys, corresponding to the development and production environments, respectively, with data isolation between the two environments. Before your application officially launches, it is recommended to switch to the production environment's App Key to complete pre-launch testing and final release.
Steps
Importing the SDK
RC supports two integration methods: adding remote dependencies via Gradle and importing the Android local library into the application project. The following example demonstrates adding remote dependencies via Gradle.
-
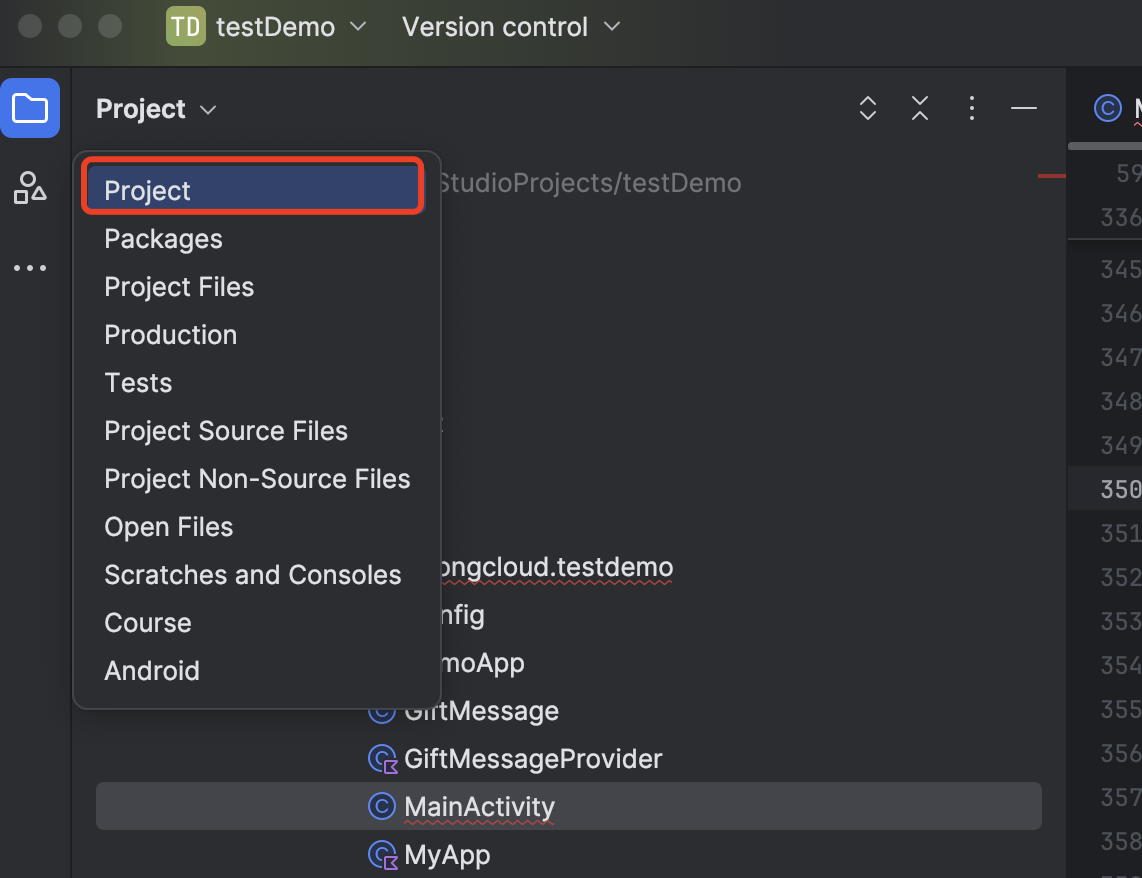
Open Android Studio and switch to the Project view.
-
In the project's root directory, locate the build.gradle file and declare RC's Maven repository within it.
allprojects {
    repositories {
        ...
        //RC Maven repository address
        maven {url "https://maven.rongcloud.cn/repository/maven-releases/"}
    }
} -
In the app directory, locate the application's build.gradle and add the IMLib SDK as a remote dependency. In the example below, replace x.y.z.h with the IMLib SDK version number. Specific versions can be found on the RC's Maven repository.
dependencies {
	...
	//Example of integrating IMLib
	api 'cn.rongcloud.sdk:im_lib:x.y.z'
}
Initializing the IMLib SDK
To ensure you can normally connect to RC servers and use RC's Instant Messaging Service (IM Service), you must call the init method to initialize the IMLib SDK. Before initialization, you must obtain the App Key from the RC Console and configure InitOption (initialization settings).
InitOption encapsulates AreaCode (data center region code), naviServer (navigation service address), fileServer (file service address), statisticServer (data statistics service address), enablePush (push notification switch), and isMainProcess (main process switch). For details, see initialization. If you use the Beijing data center, you do not need to configure InitOption, as the IMLib SDK defaults to connecting to the Beijing data center.
String appKey = "Your_AppKey"; // example: bos9p5rlcm2ba
InitOption initOption = new InitOption.Builder().build();

RongCoreClient.init(getApplicationContext(), appKey, initOption);
If you use an overseas data center, you must pass the corresponding AreaCode for that data center.
String appKey = "Your_AppKey";
AreaCode areaCode = AreaCode.SG; //Singapore Data Center

InitOption initOption = new InitOption.Builder()
    .setAreaCode(areaCode)
    .build();

RongCoreClient.init(context, appKey, initOption);
If your IMLib SDK version is earlier than 5.4.2 (exclusive), you must call the RongCoreClient's init method in the Application's onCreate() method and pass the App Key. For details, see initialization.
Listening for Messages
By setting up a message reception listener, users can receive all types of real-time and offline messages. Note: To ensure all offline messages are received, set up the listener before connecting to the RC IM server.
RongCoreClient.addOnReceiveMessageListener(
    new io.rong.imlib.listener.OnReceiveMessageWrapperListener() {
        @Override
        public void onReceivedMessage(Message message, ReceivedProfile profile) {
            // For offline messages, the server packages 200 messages into a single bundle and sends it to the client, which then parses the bundle. This parameter indicates the remaining number of messages after each bundle is processed.
            int left = profile.getLeft();
            // Whether the message is an offline message
            boolean isOffline = profile.isOffline();
            // Whether there are undelivered message bundles on the server
            boolean hasPackage = profile.hasPackage();
        }
    }
);
Connecting to the RC IM Server
- To simulate users sending and receiving messages via the RC IM server, you first need to register a user. In actual business scenarios, the application client obtains a token by calling the RC IM Server API through the application server. For details, see the Server API documentation User Registration. The call returns the following:
HTTP/1.1 200 OK
Content-Type: application/json; charset=utf-8

{"code":200,"userId":"1","token":"gxld6GHx3t1eDxof1qtxxYrQcjkbhl1V@sgyu.cn.example.com;sgyu.cn.example.com"}
-
Set up a connection listener to monitor the connection status in real time. You can provide UI feedback to users based on the connection status (e.g., displaying "Network connection interrupted" or "Reconnected") to enhance the user experience. It is recommended to set up the IM connection status listener for the application's lifecycle and remove it when no longer needed. For details, see Connection Status Monitoring.
private IRongCoreListener.ConnectionStatusListener connectionStatusListener = new IRongCoreListener.ConnectionStatusListener() {
  @Override
  public void onChanged(ConnectionStatus status) {
        // Handle different business logic based on the connection status code
  }
};
public void setIMStatusListener() {
    // Add connection status listener since 5.1.6
    RongCoreClient.addConnectionStatusListener(ConnectionStatusListener);
} -
Call the connect method to connect the user with userId 1 to the RC IM service. Note: The IMLib SDK has a reconnection mechanism, so calling connect once per application lifecycle is sufficient. For details, see Connection.
    String token = "Token";
    RongCoreClient.connect(token, new IRongCoreCallback.ConnectCallback() {
        /**
         * Database callback.
         * @param code Database open status. DATABASE_OPEN_SUCCESS indicates successful database opening; DATABASE_OPEN_ERROR indicates database opening failure
         */
        @Override
        public void OnDatabaseOpened(IRongCoreEnum.DatabaseOpenStatus code) {

        }
        /**
         * Success callback
         * @param userId Current user ID
         */
        @Override
        public void onSuccess(String userId) {

        }
        /**
         * Error callback
         * @param errorCode Error code
         */
        @Override
        public void onError(IRongCoreEnum.ConnectionErrorCode errorCode) {

        }
    });
Sending Messages
Finally, you can simulate sending a text message to the user with userId 2. In addition to text messages, you can also send different types of messages such as images, files, voice messages, etc. For details, see Message Types.
String content = "Hello, this is a message from user 1";
String targetId = "2";
ConversationType conversationType = ConversationType.PRIVATE;
// Construct the message
TextMessage messageContent = TextMessage.obtain(content);
Message message = Message.obtain(targetId, conversationType, messageContent);

// Send the message
RongCoreClient.getInstance().sendMessage(message, null, null, new IRongCoreCallback.ISendMessageCallback() {
    @Override
    public void onAttached(Message message) {

    }

    @Override
    public void onSuccess(Message message) {

    }

    @Override
    public void onError(Message message, IRongCoreEnum.ErrorCode errorCode) {

    }
});